
[ Equipment: steamer. For more information about the terminology in this recipe, see Low Temperature Baking: A Journey of 3 Paths ].
With the Chinese New Year approaching (February 3, 2011) and a can of pumpkin puree sitting in my food bin, I prepared to celebrate by making a batch of spiced pumpkin ganache mochi. The traditional celebratory food is glutinous rice cake layered with red bean paste. Japanese mochi is similar but molded into different shapes and with a greater variety of fillings. I suppose I could also call them glutinous rice cupcakes. At first, I wasn’t sure if a pumpkin filling would be authentic; I’ve never seen pumpkin in Asian markets. I discovered online that the Chinese in China have been eating and growing pumpkin for hundreds of years (since the Ming Dynasty). Chocolate, introduced into China in the 1970s and still regarded there as a foreign food, has been popular in baked goods.
The pumpkin ganache could not be simpler (nor lower in calories): just pumpkin puree and chocolate syrup. In my recipe, the chocolate syrup is Hershey’s Special Dark Syrup. Any chocolate syrup should work, although the ganache may not have quite the same flavor or deep color. I spiced the pumpkin so that it would stand out more against the chocolate, the same baker’s-5 spice in my oatmeal cran-raisin cookies. The harvest spice from my oat-rice soda bread (a.k.a. pumpkin spice) or even plain powdered cinnamon would be fine substitutes.
I like my pastries only mildly sweet, so the ganache has no extra sugar. However, the sugar content of chocolate syrups can vary, and some people have a preference for intense sweetness. I recommend tasting the pumpkin-syrup mixture before reducing it and stirring in the optional tablespoon of sugar if desired.
Glutinous rice and glutinous rice flour can be found in Asian markets, occasionally in the mainstream markets in the Asian foods aisles. One market near me had glutinous rice flour, but not glutinous rice. Bob’s Red Mill, the ubiquitous brand for specialty flours, still does not produce glutinous rice flour. Without the flour, another method of making mochi cooks the glutinous rice and then grinds the rice into a doughy paste with a mortar and pestle. It takes LOTS of work to get the smooth texture with that method.
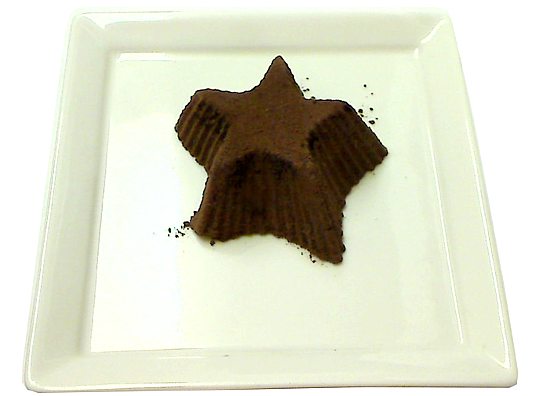
Once the mochi have finished steaming, they are rolled in a starch to dry up any residual stickiness. The recipe states cornstarch, but any number of other food starches could substitute: tapioca, rice, potato. Cocoa powder also works well (see the pictures at the end of the recipe). Do NOT, however, cover the mochi in powdered sugar. The moist surface of the mochis will dissolve powdered sugar into a soggy mess.
I purchased the star molds (1/4 cup capacity) shown in the pictures at Cost Plus World Market (shelved in the baking supplies section), $3 for a set of 6. I strongly recommend silicone molds, because they can literally be peeled off the sticky rice cakes. Refrigerating the mochi for a day or two will also help the unmolding process. They longer they rest, the more set and firm they become.
Makes 6 mochi
– 100 calories per mochi
– Oven Temperature: steaming
Mochi:
- 3/4 cup glutinous rice flour
- 3/4 cup water
- 1/4 cup sugar
- 2 tablespoons pumpkin ganache (see below)
- cornstarch or cocoa powder for dusting
Pumpkin Ganache (makes about 1/8 cup):
- 1/4 cup pumpkin puree (canned or homemade)
- 1 tablespoon Hershey’s Special Dark Chocolate Syrup (see text)
- 1 tablespoon sugar (optional, see text)
- 1/8 teaspoon baker’s 5-spice or pumpkin spice (see text)
Pumpkin Ganache Method:

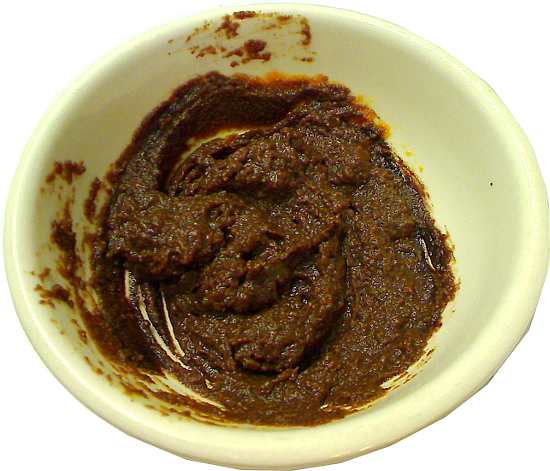
1. In a heatproof bowl, mix the pumpkin puree, chocolate syrup and spices until well combined. Taste the mixture for sweetness (keep in mind that it will get sweeter when the pumpkin reduces in the next step). Add sugar, one teaspoon at a time, if desired – tasting the mixture with each addition.

2. Place the bowl in the microwave and heat on HIGH power for about 20 seconds. Remove and stir to release steam. Repeat this step until the ganache is thick and a spoon inserted will remain standing – about 3 to 4 minutes total in an 800W microwave. The heating process will reduce the volume of the mixture almost by half. The mochi recipe requires 2 tablespoons of ganache, so do not overprocess.
Alternatively, the heating could be done in a saucepan on low heat.

3. Cover and refrigerate until ready to use.
Mochi Method:
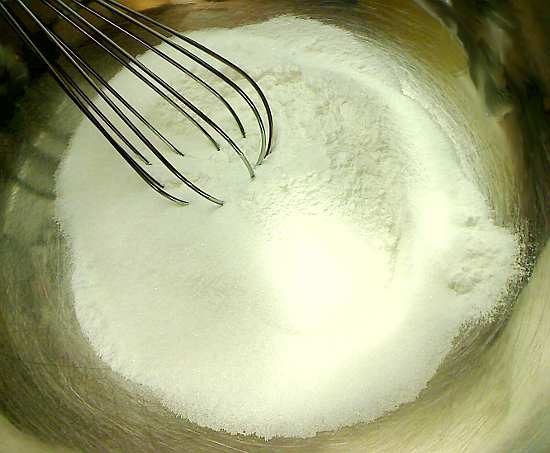
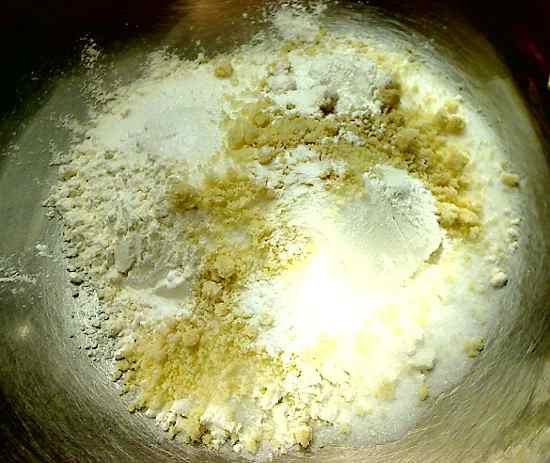
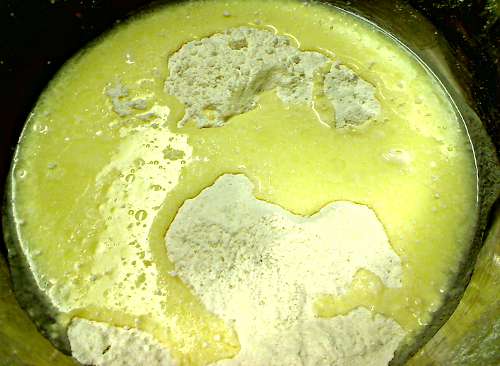
1. In a large bowl, whisk the flour and sugar until well combined.

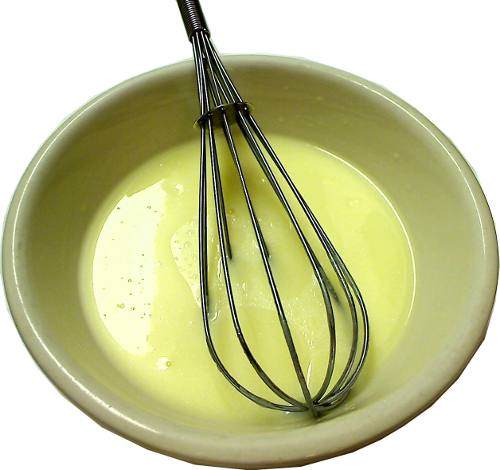
2. Add water and whisk in thoroughly to make a thick batter.
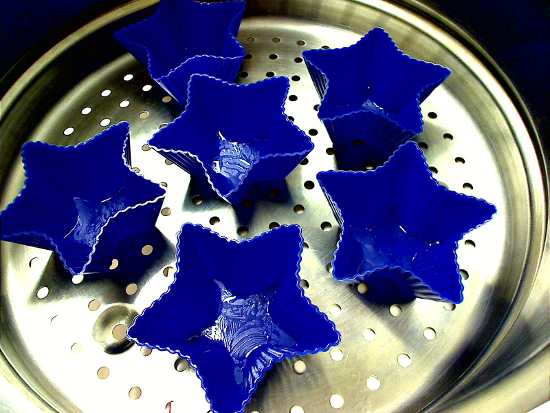
3. Grease 6 molds with oil (the star molds shown have about 1/4 cup capacity).

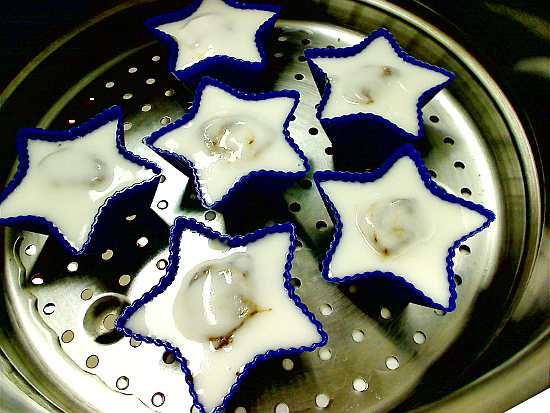
4. Fill each mold with 1-1/2 tablespoon of glutinous rice batter.

5. Steam (water on medium boil) the batter for about 5 minutes until the batter sets.

6. Remove from steamer and fill each mold with 1 teaspoon of ganache. The ganache should not touch the sides of the mold. In the picture above, I filled them by stacking two 1/2 teaspoon mounds of ganache, because the width of the 1/2 teaspoon measure fits the molds better than my 1 teaspoon measure.

7. Fill each mold to the top with more batter. If the ganache filling sticks up over the top of the mold, lightly press and smooth it down with the back of a spoon.
8. If the filling is exposed after any smoothing in the previous step, cover with a little batter.

9. Steam the mochi for about 35 to 40 minutes until firm.

10. Cool the mochi on a rack. Then cover and refrigerate for at least 4 to 5 hours or preferably a full day. The longer they sit, the firmer they get, and the easier it will be to unmold them.

11. Unmold the mochi. Place a mochi in a small bowl.


12. Dust and roll the mochi in cocoa powder or cornstarch.

13. Plate and serve. Drizzle with chocolate syrup if desired.


You must be logged in to post a comment.